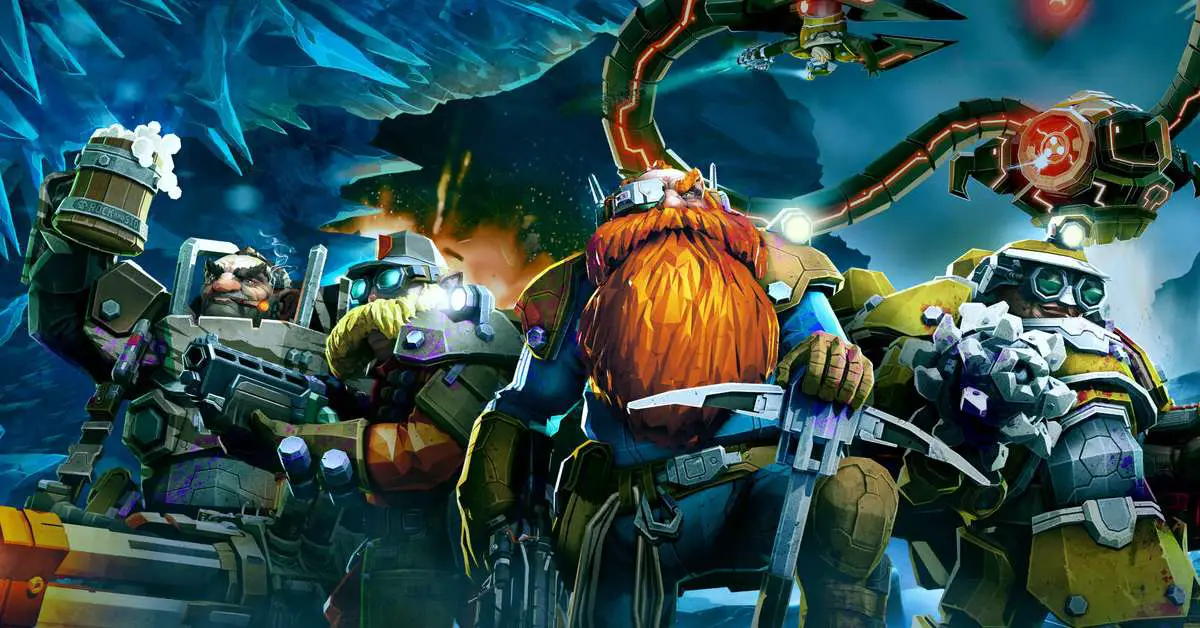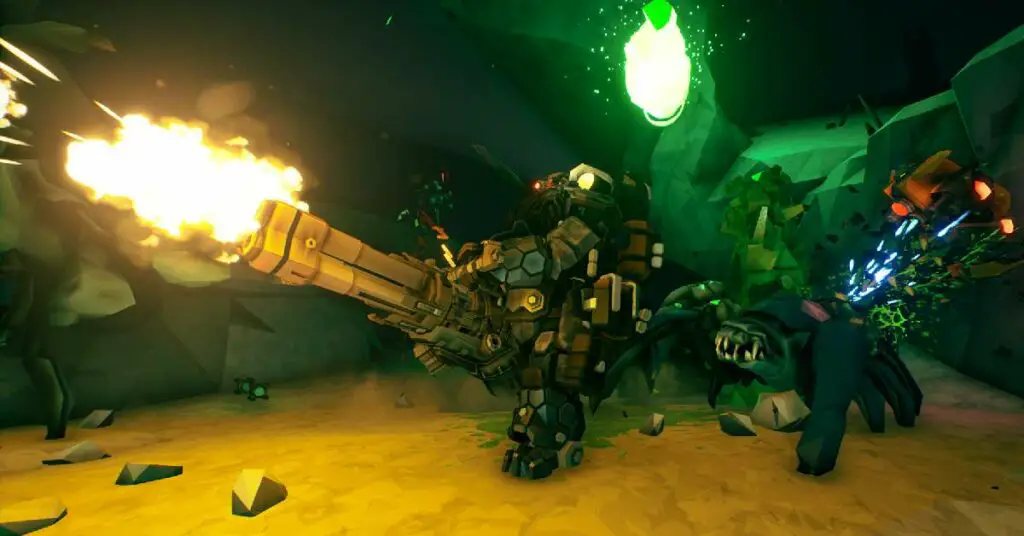
Deep Rock Galactic is a thrilling cooperative first-person shooter game that places players in the boots of space-dwelling, mining dwarves. As you venture into the depths of an alien planet, understanding and mastering each class is essential to conquer the game’s various missions. In this comprehensive class guide, we’ll delve into the roles, abilities, weapons, and strategies of each class to help you become a formidable force in the world of Deep Rock Galactic.
The Four Dwarven Classes
In Deep Rock Galactic, there are four unique classes for players to choose from: Driller, Engineer, Gunner, and Scout. Each class boasts its own set of abilities and equipment, allowing for diverse gameplay experiences. This variety not only keeps the game fresh but also encourages teamwork and coordination, as each class has a specific role to fulfill in a team setting.
Driller
The Driller is the backbone of any mining operation. Equipped with powerful excavation tools, the Driller can carve paths through the planet’s rock and create shortcuts for the team. This class is perfect for players who enjoy blazing a trail and controlling the pace of the mission.
Engineer
The Engineer is a master of utility and area control. With an arsenal of defensive structures and gadgets, the Engineer can manipulate the environment to create chokepoints, defend against alien creatures, and provide valuable resources for the team. If you enjoy tactical gameplay and resource management, the Engineer is the class for you.
Gunner
The Gunner is the team’s heavy hitter, armed with devastating weaponry to mow down swarms of alien creatures. As the primary damage dealer, the Gunner excels in suppressing enemies and keeping the team safe from harm. If you relish the thrill of unleashing raw firepower, the Gunner is your go-to class.
Scout
The Scout is the team’s agile reconnaissance expert. With unparalleled mobility and the ability to illuminate dark caverns, the Scout can quickly scout ahead, gather resources, and provide vital information to the team. For players who value speed, exploration, and adaptability, the Scout is an excellent choice.
Driller Class Breakdown
Driller’s Role and Responsibilities
The Driller is responsible for creating passageways and shortcuts through the caverns, making navigation and extraction easier for the team. With powerful drilling tools and crowd control weapons, the Driller can quickly dispatch enemies and create safe zones for the team to regroup.
Weapons and Equipment
Primary Weapons
- CRSPR Flamethrower: A deadly weapon that sprays fire, burning enemies and setting the environment ablaze.
- Cryo Cannon: A freezing weapon that slows and freezes enemies in their tracks, making them more vulnerable to damage.
Secondary Weapons
- Subata 120: A reliable semi-automatic pistol that excels at mid-range combat.
- Experimental Plasma Charger: A versatile energy weapon that can be charged to deal massive damage or fired rapidly in a pinch.
Tools and Gadgets
- Reinforced Power Drills: The Driller’s signature tool, capable of tearing through rock with ease to create tunnels and pathways.
- Satchel Charge: A powerful explosive that can be used to destroy large sections of terrain or obliterate clusters of enemies.
Perks and Upgrades
The Driller can benefit from perks and upgrades that increase mobility, drilling speed, and weapon efficiency. Players should consider investing in perks like “Deep Pockets” for increased carrying capacity or “Dash” for a quick burst of movement speed.
Tips and Strategies for Effective Gameplay
- Communicate with your team to plan efficient routes through the caverns.
- Use your drills strategically to create escape routes and shortcuts during extraction.
- Switch between your primary weapons depending on the situation—use the CRSPR Flamethrower for crowd control and the Cryo Cannon to slow down and weaken tougher enemies.
- Conserve your satchel charges for dire situations or for quickly gathering large clusters of resources.
- Coordinate with the Engineer to create fortified positions during swarms or defensive stands.
Engineer Class Breakdown
Engineer’s Role and Responsibilities
The Engineer excels at area control and providing vital support to the team. With an array of gadgets and platforms, the Engineer can manipulate the battlefield, making it easier for the team to traverse and defend against waves of enemies.
Weapons and Equipment
Primary Weapons
- “Warthog” Auto 210: A versatile combat shotgun that packs a punch at close range.
- “Stubby” Voltaic SMG: A rapid-fire submachine gun that deals electrical damage, stunning enemies and disrupting their attacks.
Secondary Weapons
- “Deepcore” 40mm PGL: A powerful grenade launcher that can deal massive damage to groups of enemies or take down larger threats.
- BRT7 Burst Fire Gun: A burst-fire handgun that offers precision shots at medium to long range.
Tools and Gadgets
- Platform Gun: The Engineer’s signature tool, capable of creating instant platforms that allow the team to traverse difficult terrain or create defensive structures.
- LMG Gun Platform: An automated turret that can be deployed to provide suppressing fire and defend key areas.
Perks and Upgrades
The Engineer can benefit from perks and upgrades that enhance gadget effectiveness, weapon handling, and defensive capabilities. Players should consider investing in perks like “Born Ready” for automatic weapon reloading when not in use or “Strong Arm” for faster and farther grenade throws.
Tips and Strategies for Effective Gameplay
- Communicate with your team to determine the best locations for platforms and turrets.
- Use the Platform Gun to create pathways for your team, allowing them to access high-value resources or escape from dangerous situations.
- Deploy LMG Gun Platforms strategically, taking advantage of chokepoints and natural cover to maximize their effectiveness.
- Switch between your primary weapons depending on the situation—use the “Warthog” Auto 210 for close-quarters combat and the “Stubby” Voltaic SMG for crowd control and stunning enemies.
- Support your teammates by providing cover fire and focusing on larger threats with your “Deepcore” 40mm PGL.
Gunner Class Breakdown
Gunner’s Role and Responsibilities
As the team’s primary damage dealer, the Gunner is responsible for protecting teammates and eliminating threats. With heavy weapons and a powerful shield, the Gunner can suppress swarms of enemies and provide crucial support during intense combat situations.
Weapons and Equipment
Primary Weapons
- “Lead Storm” Powered Minigun: A devastating rapid-fire weapon that can shred through hordes of enemies with ease.
- “Thunderhead” Heavy Autocannon: A high-impact weapon that deals explosive damage, capable of taking down larger enemies and controlling crowds.
Secondary Weapons
- “Bulldog” Heavy Revolver: A powerful handgun that offers precision shots and high damage at medium to long range.
- BRT7 Burst Fire Gun: A burst-fire handgun that provides accurate shots at medium to long range, perfect for finishing off weakened enemies.
Tools and Gadgets
- Zipline Launcher: The Gunner’s signature tool, capable of creating ziplines that allow the team to traverse large gaps and access hard-to-reach areas.
- Shield Generator: A deployable
- Shield Generator: A deployable device that creates a protective energy barrier, shielding teammates from enemy fire and providing temporary cover during intense battles.
Perks and Upgrades
The Gunner can benefit from perks and upgrades that increase weapon damage, ammo capacity, and survivability. Players should consider investing in perks like “More Ammo” to extend their firepower or “Field Medic” to revive downed teammates more quickly.
Tips and Strategies for Effective Gameplay
- Prioritize eliminating high-threat enemies, such as Praetorians and Oppressors, to alleviate pressure on your team.
- Manage your primary weapons’ overheating and reload times to maintain a steady stream of firepower.
- Use the Zipline Launcher to create escape routes, advantageous firing positions, or to access hard-to-reach resources.
- Deploy your Shield Generator strategically to protect your team during intense combat situations or during extraction.
- Coordinate with your teammates to focus fire on larger enemies and ensure a swift and effective takedown.

Scout Class Breakdown
Scout’s Role and Responsibilities
The Scout excels at reconnaissance, exploration, and resource gathering. With exceptional mobility and the ability to illuminate dark caverns, the Scout can quickly navigate the environment, locate valuable resources, and provide vital information to the team.
Weapons and Equipment
Primary Weapons
- “Deepcore” GK2: A versatile and reliable assault rifle that offers balanced damage output and accuracy.
- M1000 Classic: A powerful semi-automatic rifle capable of dealing high precision damage at long range.
Secondary Weapons
- “Boomstick” Double-Barreled Shotgun: A close-quarters powerhouse that can quickly dispatch enemies at point-blank range.
- Zhukov NUK17: A rapid-fire machine pistol that excels at close to mid-range combat and crowd control.
Tools and Gadgets
- Grappling Hook: The Scout’s signature tool, allowing for unmatched mobility and access to hard-to-reach areas.
- Flare Gun: A tool that can illuminate large areas of the caverns, making it easier for the team to navigate and spot resources or threats.
Perks and Upgrades
The Scout can benefit from perks and upgrades that enhance mobility, damage output, and resource gathering efficiency. Players should consider investing in perks like “Thorns” to deal damage to enemies upon contact or “Heightened Senses” to detect and avoid hidden threats.
Tips and Strategies for Effective Gameplay
- Use your Grappling Hook to quickly navigate the environment, scout ahead, and gather resources.
- Illuminate dark areas with your Flare Gun, ensuring your team has a clear line of sight and can spot potential threats.
- Switch between your primary weapons depending on the situation—use the “Deepcore” GK2 for general combat and the M1000 Classic for long-range precision shots.
- Assist your team by targeting high-threat enemies and using your mobility to draw fire away from your teammates.
- Communicate valuable information, such as resource locations and enemy positions, to your team to ensure mission success.
Building a Balanced Team
Importance of Team Composition
A well-rounded team composition is crucial to success in Deep Rock Galactic. Each class brings unique abilities and strengths to the table, and a balanced team can adapt to various mission types and challenges more effectively.
Recommended Class Combinations
While there is no definitive “best” team composition, some combinations work particularly well together. A team with one of each class is always a solid choice, as it ensures all roles are covered. Alternatively, a team with a Driller, Engineer, and Gunner can excel in defensive missions, while a team with a Driller, Scout, and Engineer may have an easier time may have an easier time in exploration-focused missions. Ultimately, the best team composition will depend on the mission type and player preferences.
Adapting to Different Mission Types and Situations
It’s important for players to adapt their strategies and playstyles according to the mission type and the challenges they encounter. For instance, a team on a mining expedition may prioritize resource gathering and efficient navigation, while a team on an elimination mission will focus on combat and crowd control. Communication and teamwork are key to success in Deep Rock Galactic, so be sure to coordinate with your teammates and make adjustments as needed.
Final thoughts on: Deep Rock Galactic class guide
Mastering each class in Deep Rock Galactic is essential for conquering the game’s various missions and challenges. With this comprehensive class guide, you’re now equipped with the knowledge and strategies needed to excel as a Driller, Engineer, Gunner, or Scout. Remember to experiment with different classes, communicate with your teammates, and adapt your strategies to the situation at hand. With dedication and practice, you’ll become a formidable force in the world of Deep Rock Galactic. Good luck, and may your pickaxes strike true!


