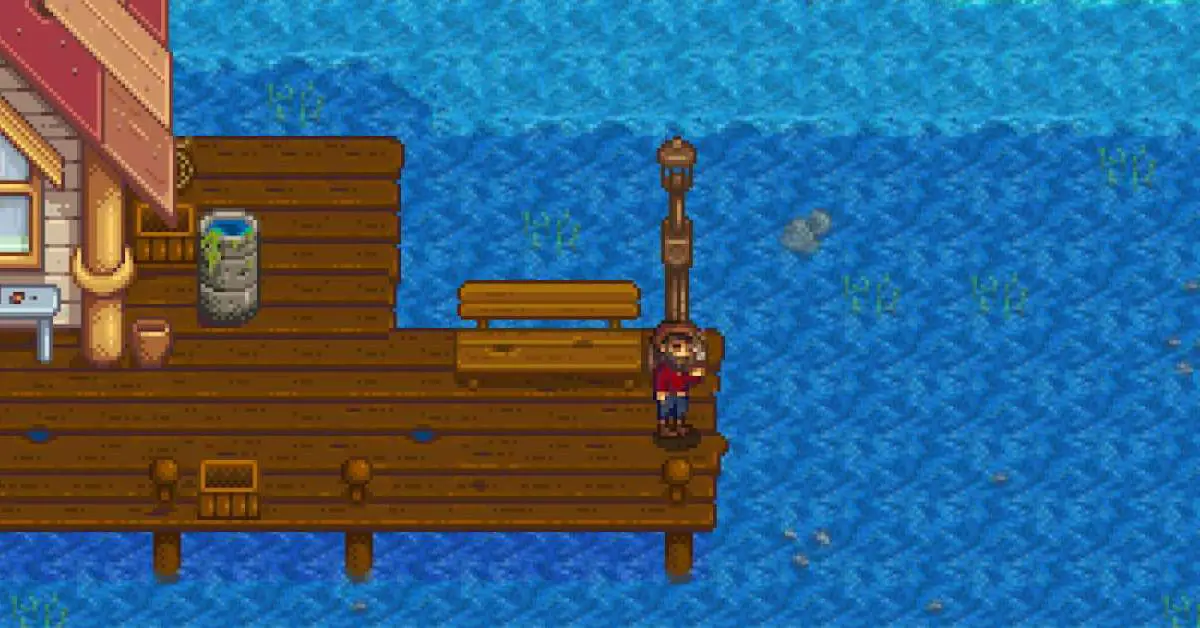
Welcome to the exciting world of Roblox, where creativity meets community, and gaming enthusiasts can create their very own virtual worlds! Today, we’re going to dive into one of the most fantastic features Roblox offers: gamepasses. If you’ve ever wanted to learn how to make a gamepass on Roblox, you’ve come to the right place. So, buckle up, and let’s get started!
What’s a Gamepass and Why You Need One
A gamepass is an item that can be sold within your Roblox game to offer special perks, features, or abilities to your players. By selling gamepasses, you can monetize your game and reward your most dedicated players with exclusive content. They’re a fantastic way to keep your game fresh, fun, and – most importantly – profitable.
Step 1: Plan Your Gamepass
Before diving into the technical side of things, it’s essential to plan out what you want your gamepass to do. Think about the kind of perks or abilities that would appeal to your players and how they’ll enhance their gaming experience.
Here are a few ideas to get you started:
- Access to exclusive in-game items or characters
- Increased XP or currency gains
- Unique cosmetic features, like skins or particle effects
- Special abilities or powers
Remember, your gamepass should be enticing enough for players to want to purchase it, but it should not be so powerful that it ruins the balance of your game.
Step 2: Get Familiar with Roblox Studio
To create a gamepass, you’ll need to use Roblox Studio, the platform’s powerful game development tool. If you’re not already familiar with Roblox Studio, take some time to explore its features and learn the basics.
Quick Tip: You’ll need a Roblox account to use Roblox Studio. If you haven’t already, sign up for a free account at roblox.com.
Step 3: Create Your Gamepass
Once you’ve got a solid plan and have familiarized yourself with Roblox Studio, it’s time to create your gamepass. Here’s a step-by-step guide on how to do it:
- Open Roblox Studio and load the game you want to add your gamepass to.
- Go to the Gamepasses section on the Roblox website.
- Click the ‘Create New Game Pass’ button.
- Upload an image for your gamepass. This image should be eye-catching and represent the perks your gamepass offers.
- Give your gamepass a name and description. Make sure they’re clear and informative so players know what they’re purchasing.
- Click ‘Preview’ to see how your gamepass will look in the game.
- If everything looks good, click ‘Submit’ to create your gamepass.
- Take note of the Game Pass ID that’s generated. You’ll need this to implement your gamepass in Roblox Studio.

Step 4: Implement Your Gamepass in Roblox Studio
Now that your gamepass exists, you’ll need to add functionality to your game that checks whether a player has purchased it. This requires some basic scripting knowledge in Roblox’s programming language, Lua.
Here’s a simple script to check if a player has purchased a gamepass:
epass and granting them a special item:
local MarketplaceService = game:GetService("MarketplaceService")
local gamePassID = 12345678 -- Replace this with your Game Pass ID

function hasGamepass(player)
    local success, hasPass = pcall(MarketplaceService.UserOwnsGamePassAsync, MarketplaceService, player.UserId, gamePassID)
    return success and hasPass
end

local function grantSpecialItem(player)
    -- Replace "SpecialItem" with the name of the item you want to grant
    local specialItem = Instance.new("Tool", player.Backpack)
    specialItem.Name = "SpecialItem"
end

game.Players.PlayerAdded:Connect(function(player)
    if hasGamepass(player) then
        grantSpecialItem(player)
    end
end)
Remember to replace 12345678 with your own Game Pass ID and customize the grantSpecialItem function to suit the item or perk you want to grant to the players who purchased your gamepass.
Step 5: Test Your Gamepass
After implementing your gamepass in Roblox Studio, it’s crucial to test it to ensure it’s working correctly. Here’s how to do it:
- Publish your game to Roblox.
- Go to the game’s page on the Roblox website.
- Purchase the gamepass using an alternate account or ask a friend to help you test it.
- Play your game and check if the gamepass perks are applied correctly.
- If everything works as expected, congratulations! You’ve successfully created and implemented a gamepass in Roblox.
If you encounter any issues during testing, double-check your code and make sure you’ve correctly replaced the Game Pass ID and other relevant variables.
The Sky’s the Limit!
Now that you know how to make a gamepass on Roblox, the possibilities for your game are endless. Gamepasses are a fantastic way to monetize your creations and reward your most loyal players with unique perks and abilities. So, don’t be afraid to experiment with different types of gamepasses and find the perfect balance for your game.
Remember, creating a successful game on Roblox is not only about offering exciting content but also about building a strong community of players who enjoy your game. Keep your players engaged with regular updates, and always listen to their feedback. With hard work and dedication, you’ll be well on your way to creating the next big hit on the Roblox platform!
Happy game developing, and let your imagination run wild!