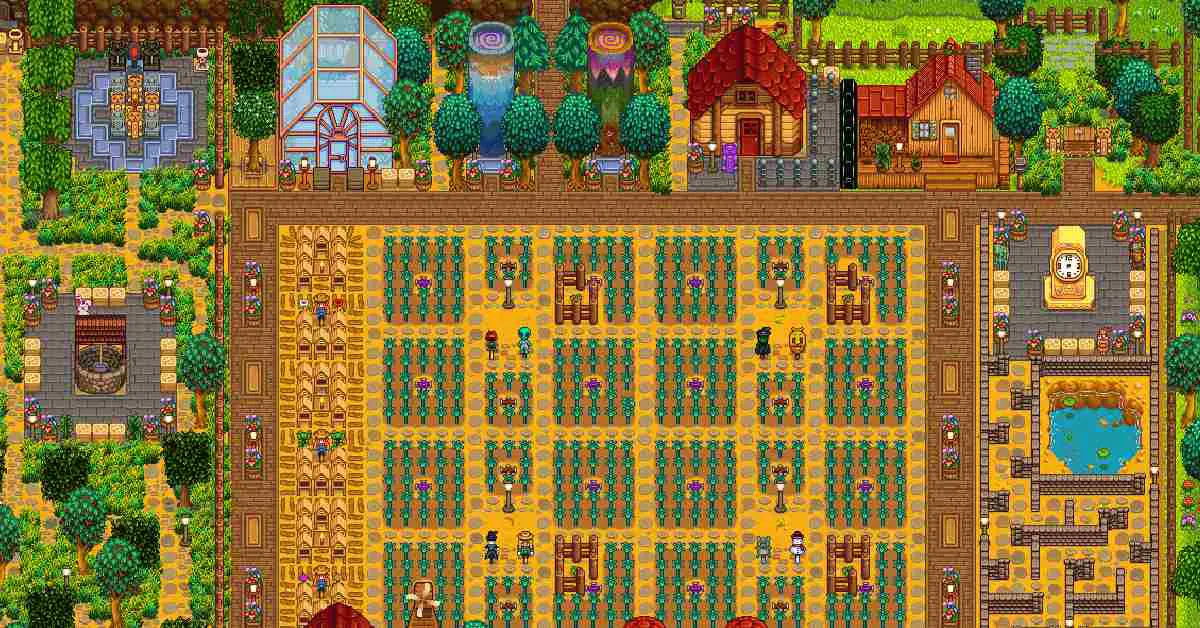
Welcome, fellow farmers! Today, we’re diving headfirst into the world of Junimo Huts in Stardew Valley. We’ve all been there, dreaming of an efficient and well-designed farm, but how do we achieve it? Well, look no further. We’ve got you covered with the ultimate Junimo Hut layout guide! Grab your watering can and let’s get started.
Junimo Huts: Little Helpers on Your Farm
So, first things first: what is a Junimo Hut in Stardew Valley? These magical little buildings are home to the adorable Junimos, who are here to make your life as a farmer so much easier. Once you’ve got a Junimo Hut on your farm, these little sprites will automatically harvest crops within a specific radius, giving you more time to focus on other aspects of your farm life.
To unlock the Junimo Hut, you’ll need to complete the Wizard’s questline, which starts with a visit to his tower in the Cindersap Forest. Once you’ve built some trust with the mystical man, he’ll teach you how to craft a Junimo Hut for a price of 20,000g, 200 stone, 9 starfruit, and 100 fiber.
Perks of the Junimo Hut Layout
As we’ve mentioned, the main perk of having a Junimo Hut is the auto-harvesting feature, but there’s more to it than just that. With the right layout, you can maximize your farm’s efficiency, ensuring that your crops are harvested quickly and your profits soar.
The key to the perfect Junimo Hut layout is understanding their range. Each hut can cover an area of 17×17 tiles, with the hut smack in the middle. This means that each Junimo Hut can tend to a whopping 289 tiles, so you’ll want to make sure you’re utilizing their full potential.

Designing Your Dream Junimo Hut Layout
Now that we’ve got the basics down, it’s time to get creative and build our dream Junimo Hut layout. Here are some tips to get you started:
1. Grid Your Farm for Maximum Efficiency
To make the most of your Junimo Huts, start by dividing your farm into a grid, with each square measuring 17×17 tiles. This will give you a clear visual representation of where to place your huts for maximum coverage.
2. Place Junimo Huts Strategically
Now that your grid is set, find the center of each square and place your Junimo Huts there. This ensures that they can cover the entire area within the square, maximizing their harvesting potential.
3. Consider Crop Quality and Growth Times
When planning your Junimo Hut layout, keep in mind the growth times and quality of your crops. Fast-growing crops, like Parsnips, might be better suited for manual harvesting, as the Junimos won’t have time to keep up. On the other hand, slower-growing crops like pumpkins and melons are perfect for the Junimos, giving them plenty of time to harvest and allowing you to focus on other tasks.
4. Keep an Eye on Sprinklers and Scarecrows
While the Junimos are hard at work harvesting your crops, don’t forget about the other elements of your farm. Make sure to place sprinklers and scarecrows strategically around your Junimo Huts to keep your crops watered and safe from pesky crows.
5. Upgrade Your Junimo Huts
Finally, don’t forget to upgrade your Junimo Huts! As you progress through the game, you’ll have the opportunity to upgrade the huts, increasing their efficiency and harvesting speed. Keep an eye out for these opportunities and invest in your Junimos for a smoother farming experience.
Junimo Hut Layouts: Ideas to Get You Started
Now that you know the basics of designing a Junimo Hut layout, here are a couple of ideas to inspire you:
The Classic Checkerboard
The classic checkerboard layout consists of alternating Junimo Huts and crop squares, ensuring that every crop tile is within the reach of a Junimo. This layout is perfect for beginners, as it’s easy to set up and guarantees maximum coverage. Just remember to leave enough space for your sprinklers and scarecrows!
The Centralized Junimo Hub
For a more visually appealing layout, consider placing all your Junimo Huts in the center of your farm and surrounding them with crop squares. This creates a Junimo hub where your little helpers can quickly access all of your crops. This layout may require a bit more planning, but the result is a stunning and efficient farm design.
The Seasonal Quadrant
If you’re feeling extra ambitious, try dividing your farm into four quadrants, each dedicated to a specific season. Place a Junimo Hut in the center of each quadrant and plant crops that thrive in that particular season. This way, you’ll have a visually appealing farm layout that changes with the seasons and keeps your Junimos busy year-round.
In Conclusion: Embrace the Junimo Life
With the perfect Junimo Hut layout, your Stardew Valley farm will be a thriving, efficient, and profitable masterpiece. Whether you’re a seasoned farmer or just starting out, embracing the Junimo life will undoubtedly make your farm life easier and more enjoyable. So, get out there, place your huts, and watch your profits soar! Happy farming, fellow agriculturalists!


